This guide is of specific interest if you are primarily going on safari for photography rather than as a tourist interested in wildlife. Although covering digital still photography much of it is relevant to movie photography as well. It’s not exhaustive in detail but covers all of the areas that you need to consider.
I spent ages doing research on this topic, it didn’t prove completely fool proof but it helped to avoid many simple pitfalls. My kit has evolved over the seven years we lived and worked in the jungles of India up until more recent journeys into Africa. Ultimately it’s my opinion but I hope you’re able to draw your own conclusions from what follows and make your own safari more enjoyable as a result.
Most of the kit I use is/was expensive but compared with travel to exotic places it pales into insignificance, so I try not to scrimp as I know I’ll regret it later. It’s easy to say ‘spend money’ but it really is the best solution if you’re going on safari and really want to get the best photographic results. The more you compromise on kit, transport and access, the more of a compromise will be the results – but it’s a very personal decision. I hope this guide helps.
General principles
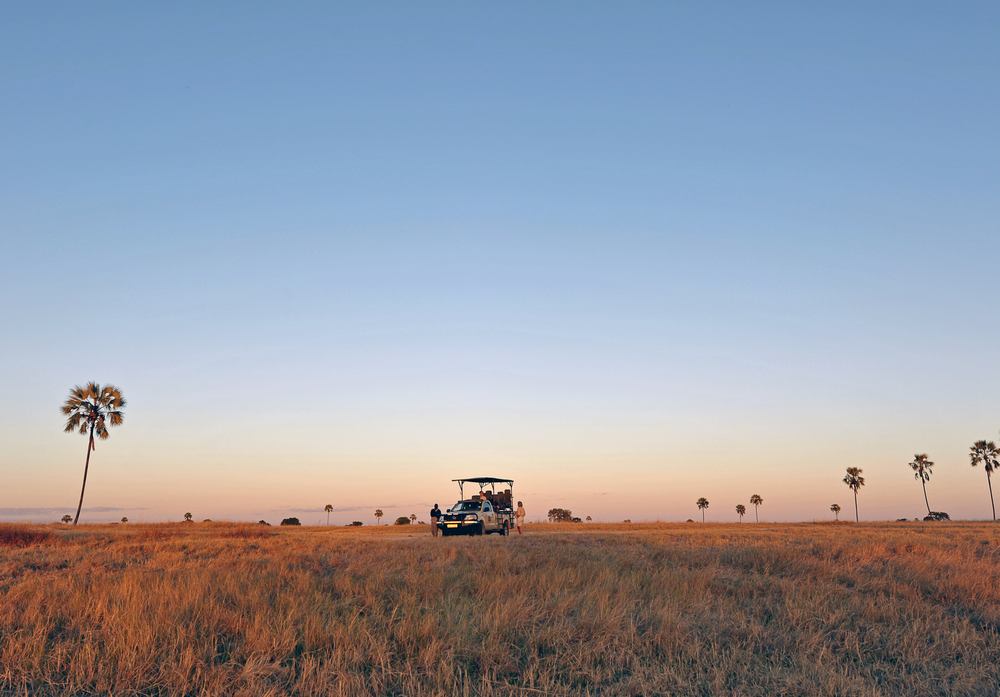
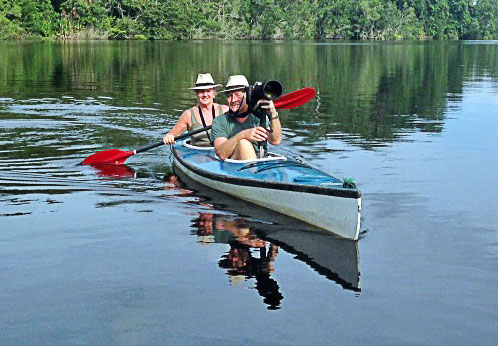
On safari and depending on location you’ll probably split your time between jeep, boat and canoe travel; time in camp resting, eating, downloading images or sleeping – all to slightly varying timescales.
More often than not you’ll rise before dawn and have a light breakfast to be out in the parks by sunrise. You’ll spend perhaps three or four hours in jeep or boat, returning to camp by noon at the latest.
The middle part of the day is spent over lunch and organising yourself for the afternoon outing by downloading or backing up what you’ve already taken, charging or replacing batteries, cleaning equipment and perhaps grabbing a nap, so that by mid-afternoon you’re ready for a quick tea prior to heading out into the park again for another four hours until sunset.
How rewarding your time on safari will be is largely down to your own pre-planning and falls under the following headings:
Transport
If you’re serious about photography you need to seriously consider reserving your own transport, be it vehicle or boat. This will be at extra cost and needs to be pre-ordered before leaving your home country as resources are limited at each camp.
If you are prepared to share with other like-minded photographers that’s fine but again, you need to be reassured of this prior to departure as being stuck with a group of perfectly pleasant tourists will drive you to distraction – their priorities will be totally different from yours and as a general rule, their patience considerably more limited. The notion of sitting over one animal or in one location for an hour is probably not on their wish list, whereas the traditional ‘sundowner’ drink at precisely the best time for photography is! I attempted to pre-arrange this situation prior to travel and it’s one of the areas that my best laid plans have previously gone awry – then it was down to negotiation and cajoling locally in order to get a sensible arrangement – far from ideal.
Remember, of course, that a group of photographers together will always want either the same shot or the best position in the vehicle, or for the vehicle to move to their advantage – so be prepared for some tactful negotiation or make sure that there’s agreement between you and your driver as to when the vehicle should move. If at a camp for a number of trips then agreeing rotation of position within the vehicle on a daily basis is also a good idea. You really don’t want more than three photographers to a vehicle to give adequate space for kit and minimum hassle.
Absolutely invaluable is a first class guide/driver who’s attuned to the needs of photographers for position, light and quiet. I’ve had opportunities lost or ruined by a driver’s lack of awareness of each of these three facets.

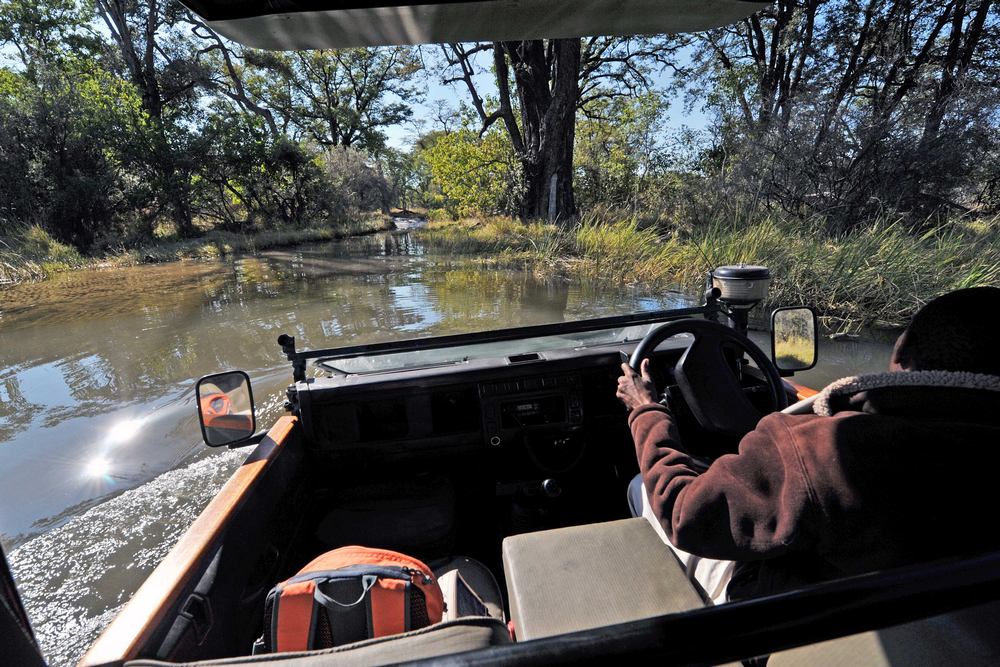
You generally won’t be able to leave the vehicle for photography when in National Parks and the vehicles won’t go ‘off road’; sometimes both can happen within private Reserves or Concessions.
Vehicles vary from place to place, country to country but more often than not you’ll be in an open sided jeep/boat that even when stopped is in constant motion. It’s almost impossible to stop someone else moving when you’re looking through the lens so you need fast shutter speeds and/or lenses to make sure your shots don’t suffer.
Do make sure to de-mount your camera from a monopod or tripod when the vehicle is in motion, or protect it from direct contact with it, as the transmitted vibration over sometimes dreadfully hard rutted ground can destroy the lens/mount/body.
Equipment stability
Many advocate bean bags, tripods, monopods and VR (‘Vibration Reduction’ in Nikon, different initials for others) to stabilise long lenses. I think they’re all a pain in their own way and have very limited use.
You can do an awful lot of reading up on the efficiency of VR lenses and despite owning them I now shoot for the most part with it switched off! Without getting too technical, the technology used to ‘double think’ or compensate for movement can often introduce a very slight softness at certain shutter speeds. I’ve found by far and away the best and most reliable solution is to pre-set my camera bodies not to shoot at a shutter speed slower than the focal length of the lens I’m using; compensation for lower light being made by a corresponding automatic increase in ISO speeds up to a pre-set limit. Have a dekko at your camera manual, probably under ‘ISO sensitivity.’ This obviously works best on faster lenses where there’s greater latitude afforded by wider apertures.

There will always be exceptions to this rule of thumb, especially if you’re seeking a motion blur or specific depth of field but where situations are changing rapidly and you want to capture action or events then it works for me.
With regards physical stability, experience has dictated that I want to be pointing the lens, or moving the camera constantly to secure the best shots; so repositioning a beanbag or monopod, or worse still a tripod is just too much for my dexterity and patience to cope with. The only time this has worked for me is if the vehicle is stationary for many minutes and my position, or the animal’s, unlikely to change. I’ve also found that hand held (given the camera adjustments I’ve already mentioned) is more stable and I’m able to compensate more easily for minor vehicle movements than with something that directly transmits movement to the camera. I’ve certainly been happy with handholding even my 200-400mm and getting very sharp images with no ‘noise’.
Equipment – care
Dirt, dust, sand, wind, heat, rain…short of snow, you’re probably in one of the harshest environments for your camera. You have now been warned, if you hadn’t realised already, and I considered one of the only ways to deal with this effectively was to plan ahead in two ways.
- Use more than one camera body and have a primary choice of lens on each that stays on the body as much as possible. I tended to keep my 200-400mm f4 on one body and the 70-200mm on the other, only changing that one for my 14-24mm if the vehicle was stationary – I suppose a third body would have been better for photography but not for marital relations!
- Ensure you’ve got adequate dust proof covers for all equipment and replace them within it before the vehicle moves. I keep lens hoods on at all times to minimise flare but also to reduce dust ingress – you’ll need covers that allow for the extra length. The minimum of fiddling means maximum shooting.
Cleaning your kit beyond blowing dust from the lens is not the easiest thing to do (as you’re rarely in a clean enough environment) and I’ve found that making sure the camera sensors are clean prior to departure and then ensuring that the kit is protected as much as possible when on safari has been adequate protection against damage or spots on the pictures. A few minutes prevention is worth hours of post-processing!
Equipment – kit
I’ve always used Nikon kit, purely a personal preference, so your choices may vary slightly.
Before buying a second body (the original was a Nikon D700 -the first Nikon full frame sensor DSLR camera), I debated at length over whether to purchase a modern still/movie DSLR in order to expand both file size and capabilities but in the end opted for a good second-hand duplicate of the D700. I’d decided that, a)I am completely familiar with the old body and ease of switching between bodies on safari would be more fluent b) if I was going to embark on movie production it would require a whole lot more investment of time in learning the new skills that would provide me with the quality and standard of work that I would be happy with.
Over the years I’ve distilled my ‘safari lenses’ down to three excellent choices that provide first class images and the maximum flexibility in terms of focal length and aperture. So together with my two Nikon D700’s I’ve acquired:-
Nikon Zoom-Nikkor G AF-S VR IF-ED 200-400 mm f/4.0 Lens
AF-S Nikkor 70-200 mm f/2.8G VR 2 Lens
Nikon 14-24mm F2.8G Af-S Ed Zoom Nikkor lens
I’ve got but don’t use tele-converters – partly through loss of light, partly as it means changing lenses mid-journey. I haven’t really missed them compared with the comfort of a clean sensor.
I do have UV filters where possible as permanent fixtures for protection on my lenses.
The only other pieces of equipment I take on safari are a durable Crumpler rucksack for the kit and a strong Manfroto monopod (for when everything is still and the camera starts to weigh a ton!).
I use the lens bag of the 200-400mm which will accommodate the body as well but do use a jacket or cloth to cover kit when vehicles are travelling.
As regards ancillaries I take enough memory cards to allow for storage of the whole trip in RAW without having to free up space and a storage device (I use a laptop and separate hard drive) to duplicate the shots after each outing as insurance against loss or corruption of the cards. At the time of writing there doesn’t appear to be a good hard drive with monitor to download to from the camera, as this would be much more favourable than carrying a laptop.
You’ll need plug adapters and a multiple-socket power strip for your lodge – power will generally be available during daylight hours. Spare batteries for the cameras are a must for obvious reasons. If you can see little screws on your kit then take the appropriate tools for them as things do shake loose!
Other than a heavy duty blower brush for dispelling surface dust, that’s it. I don’t use flash, partly because I’m never over enamoured by the results, partly because I see it as an insensitive intrusion into a natural environment (I know that I am and so is the vehicle but we all draw a line somewhere!)
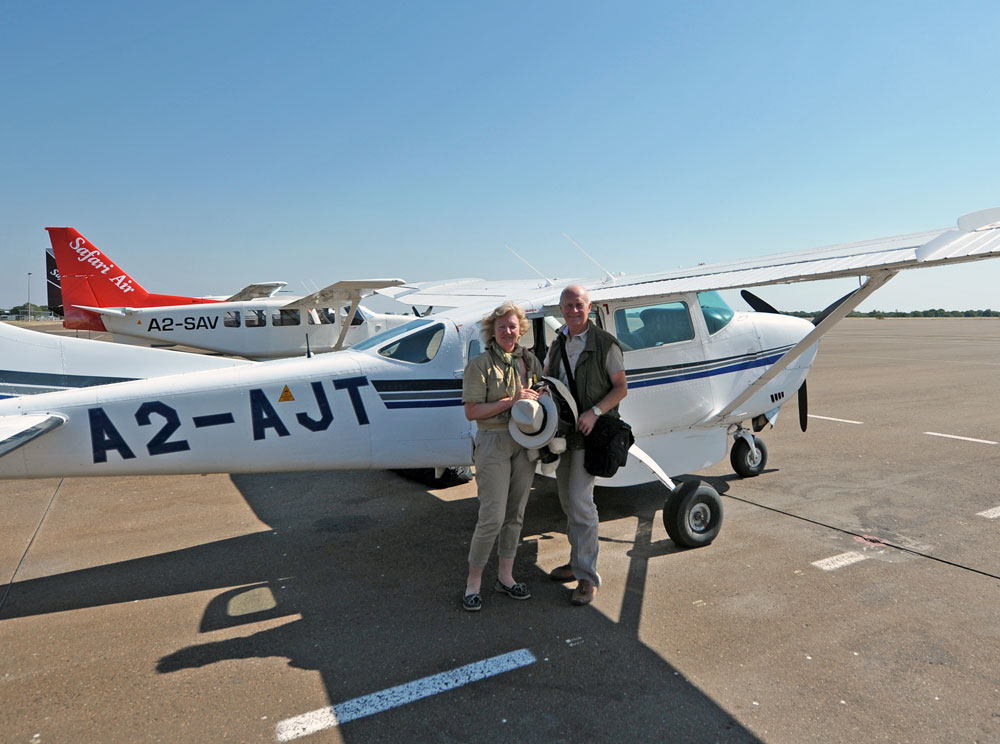
It’s worth mentioning here that I unless you buy an extra seat on the bush plane for your camera kit (if you’re travelling around places like Botswana) then you’re going to be severely restricted on weight, which will either mean you leaving some kit behind or wearing very little on holiday! DO check on allowances before you pack!

 Let us help plan your own inspiring journey throughout the world’s exotic places
Why not download the TLC World guide brochure or give us a call today on 01202 030443, or simply click ‘enquire’ to submit your own personal itinerary request